Are you wondering how to Uni Pixelate an Image on an iPhone? Dealing with pixelated images on your iPhone might be annoying. Your image can blur due to bad lighting. Maybe your camera is out of focus and so on.
After clicking the image, there is nothing more irritating than finding that these captured images have turned out to be blurry. A pixelated image is virtually unusable.
Well, if you have captured a blurry pic, then don’t fret, you can easily uni-pixelate your captured image. But the question is How to uni pixelate an image on an iPhone. In this article, we will explore different ways to uni-pixelate your image and make it visible!
Why are the iPhone images pixelated?
There might be different reasons why your iPhone images could be pixelated. So, before initiating ways to fix pixelated photos in your iPhones, it is better to understand these common issues, that could be the reason behind them. Well, some of them are given below!

Dusty and Dirty Camera Lens
Dust or dirt on the lens of your iPhone’s camera can be the basic reason to disrupt the autofocus of your iPhone camera which makes photos blurry.
Camera Movement
Another possible reason can be the camera moment while taking an image. Well, if your hands are shaking, your photos can be blurry.
iPhone case is in the way
Sometimes, the case of your iPhone is in the way of the lens which makes your photos dark and pixelate.
Bad Lightning
Bad lighting can also be the reason behind the issue. When you Shoot in the low lightning or the dark, it results in blurry photos.
Wrong Focal Length
The focal length is the angle of view. Well, zooming the camera in and out can impact the focal length and can blur your photos.
Incorrect Focus
While taking pictures, if you don’t focus the camera properly, the area that is out of focus gets pixelated.
Issue with the camera app
Sometimes, it could happen due to a problem with the camera app. Well, if Your iPhone camera app is just like any other app, so the app may be prone to software crashes.
How to Uni pixelate an Image on an iPhone via the Photos App?
Sharpen the fuzzy picture with your iPhone Photos app can be done by following the below-mentioned easy steps
- First of all, you have to Open the Photos app on your iPhone.
- After that, simply select the blurry image you want to uni-pixelate.
- Next, you have to Tap on the option of Edit and slide right on the toolbar on editing tools to choose sharpness.
- Here, you have to move the slider to adjust the sharpness of the photo.
- However, if necessary, you can try other options to enhance your photo such as brightness, contrast, etc.
- After doing so, tap on Done to save the changes.
- Well, done, you have uni-pixelated your image.
Use Third-Party Apps to Fix Blurry Photos on iPhone
If the Photos app fails to fix blurry photos on your iPhone, then you can use a third-party app for this task. Well, there are a lot of third-party photo editing tools to Unblur your photo.
Apple App Store offers you a large number of apps that can fix blurry images. below are some top-rated applications for fixing blur photos on iPhone.
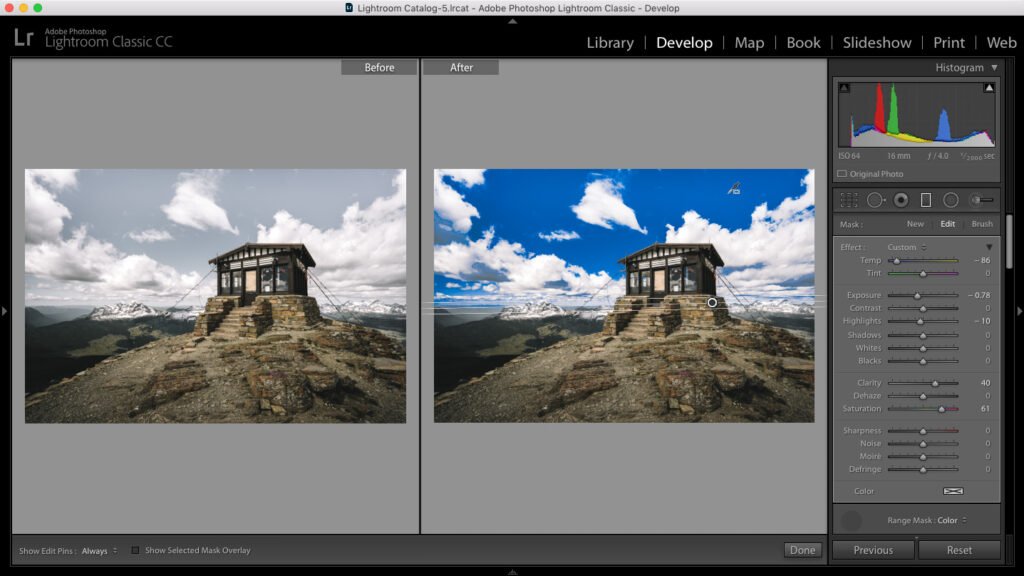
Adobe Lightroom

This is one of the best apps for Unblur photos. Especially, the mobile version of Adobe Lightroom is the most powerful app for pixelating images. With this app, you can crop, remove blemishes, adjust colors, add hue, saturation, and much more to your images.
However, here is how to Fix Blurry Pictures on an iPhone with Adobe Lightroom:
- First of all, you have to Open the Adobe Lightroom app on your iPhone.
- After that, tap on the gallery icon to import your blurry image.
- Next, you have to Slide the toolbar to the right and tap on Detail.
- Now, simply move the slider of Sharpening, Radius, Detail, and Masking to make the image clearer. If necessary, you can also make other tweaks to the photo.
- Once done, simply tap on the Upload option to save your uni-pixelated image.
Snapseed

It is a free photo editing app that helps to enhance the quality of your picture. You can use the Sharpening tool to Unblur your image. Well, here is how to do it
- First of all, you have to Launch the Snapseed app on your iPhone.
- After that, you have to tap on the + option to open your blurry picture.
- Now, you have to Tap on the Tools and choose the Details.
- Next, you have to move the slider Sharpening tool, click on Structure, and adjust its value accordingly.
- Finally, tap on the right icon to save the changes. You can click the option of Export and save it in the gallery of your iPhone.
Note: There are also many other photo editing apps, like PIXLR, FOTOR, Adobe Photoshop Express, Factune, Pixelmator, Visage, YouCam, and many more to fix blurry iPhone pictures. You can also use one of them.
Tips to Avoid Taking Blurry Photos on iPhone
iPhones can take brilliant pictures, but sometimes they capture blurry pics. If you want to prevent your iPhone camera from taking blurry photos, you can use the following steps
- The most common reason for blurry photos on iPhones is the dirty camera. So, wipe the camera lens with a clean cloth. Never use your hands or tissue wipes to clean your lens.
- If you use your two fingers to zoom in and zoom out the photo, you might blur your image. You can use the zoom button on the camera screen to avoid blurry images.
- Sometimes, your iPhone case comes in the way of your camera. So, it is better to remove the case and then take the picture.
- You can also Keep your iPhone camera steady while taking pictures. For it, you can use a tripod.
- You can also restart your iPhone to fix the camera glitches.
- If none of the above-mentioned tips works, so it is a better idea to reach out to Apple support to get a solution to the problem of blurry iPhone camera photos.
Conclusion
If you face the issue of pixelating images while capturing photos. You can resolve the issue by following the above-mentioned easy processes. You can also try the above-mentioned tips to prevent this issue.
So that’s all you need to know how to uni pixelate an image on an iPhone. We hope this article will help you a lot!


![Read more about the article [Tips 2023] How To Switch Monitor 1 And 2?](https://wuschools.com/wp-content/uploads/2022/07/Switch-Monitor-1-And-2-300x169.jpg)