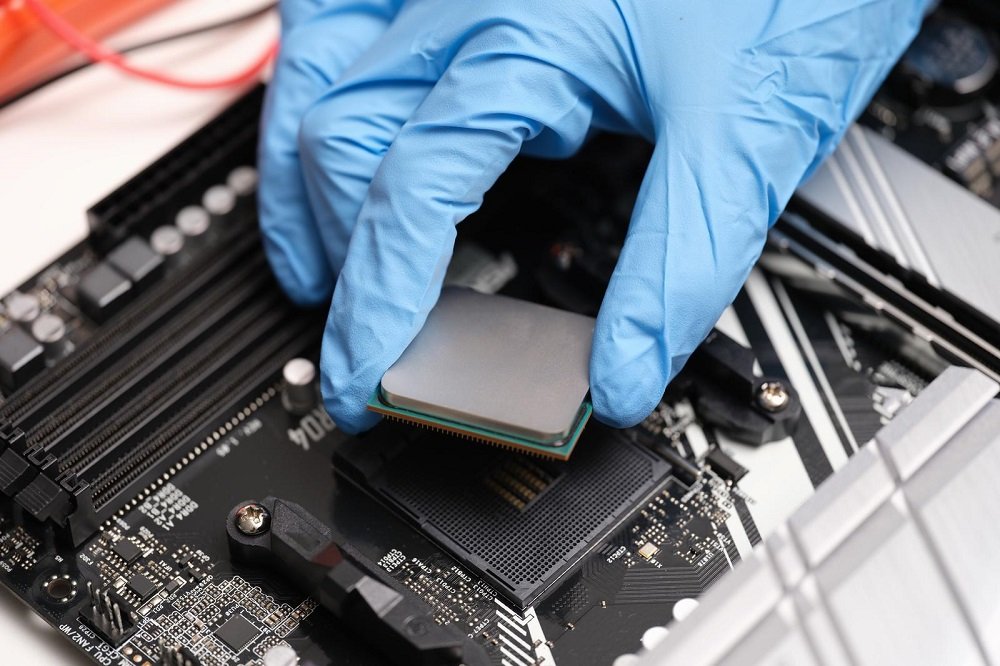
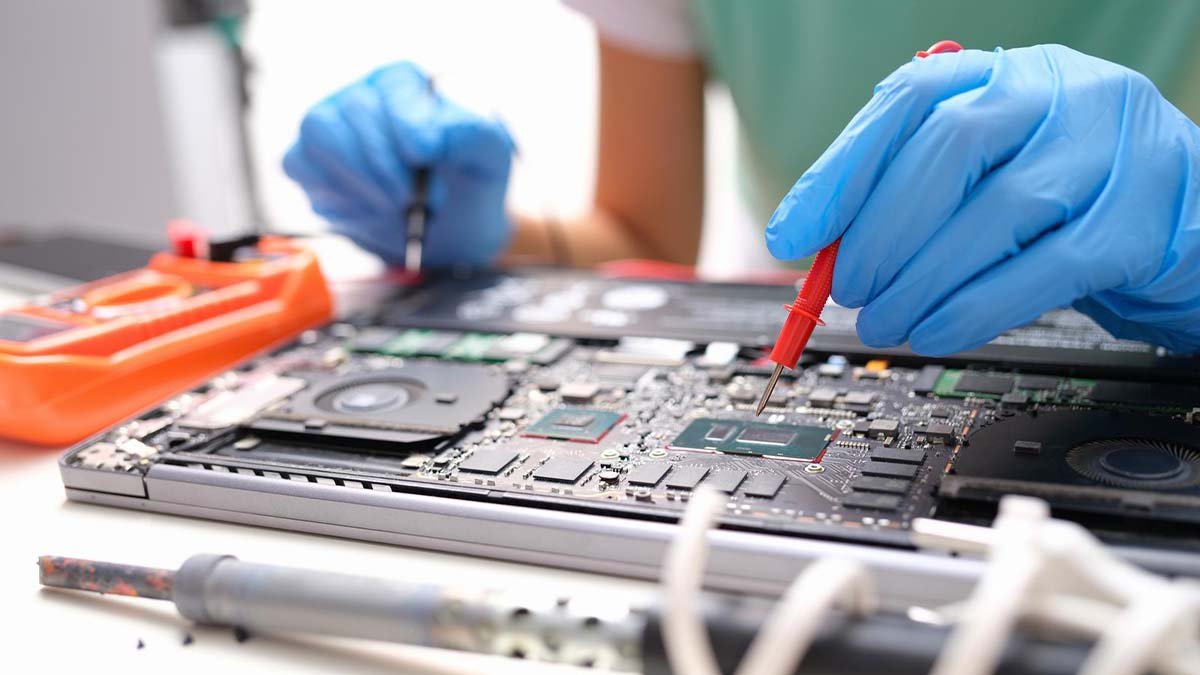
If you want to know how we can test a laptop mother for power, so just read this article, we explain everything about it. We can say that the motherboard is the mother of all boards. The motherboard is referred to as the brain of the CPU and heart of your laptop or computer. Because the motherboard monitors all the functions of your CPU, and all the parts are connected through the motherboard.
If the functions of your laptop or computer are not working so it is a sign of the motherboard gets damaged. It could be damaged for many reasons. Don’t be upset, testing the motherboard can be done at home. If you have a doubt your motherboard is malfunctioning, you need to check it out first. You just need to follow our instructions step by step carefully so that you can test a laptop motherboard for power by yourself.
Testing the DC voltage of the motherboard
You need a multimeter to test the DC voltage of your motherboard. For kind your information, there are two types of multimeters: the first is digital and the second is analog. Here is a step by step guide:
Step 1: You should know that the multimeter is set to 20v DC and make sure the 20-pin ATX connector is plugged into your laptop or computer. Then you need to connect the AC power supply.
Step 2: Now you should use the red probe for these pins. Pin 9 (purple-colored, VSB) should be at 5V, and pin 14 green-colored, PS on) should be between 3 and 5v. Now you need to press the PC’s power switch, and the value of PS should drop to 0. The other readings show a faulty switch.
Step 3: Now you need to use the red sensor to check pin 8 colored grey, power OK) that should be above 2.5 V, this shows that all right to start your laptop or computer. The power ok read should drop to 0 and then climb back up.

Check the motherboard for short AND open circuits
You can test the motherboard for short and open circuits by following these step-by-step guides. So, read carefully:
Step 1: First of all, you should unplug the computer from AC power, you will see that the cooling fans are spinning. That means everything has been working smoothly. Now you should let the access charge drain for some time. Now you should set the multimeter to the lowest Ohm setting and touch the leads of the probes together to the zero meters. You need to touch both leads to chassis bare metal, the reading of 0 should be the same.
Step 2: The next thing you have to do is you should remove the ATX connector carefully from the motherboard. Remember to keep the black sensor on the laptop chassis bare metal and then use the red sensor to inspect the PSU A/C connector ground pin and use the black cable pins on the D/C connector, here all should register zero.
Step 3: Now you should keep the black wire on the chassis metal and use the red sample to check the value of the colored wire pines on the D/C connector. The reading of all these colored cables should be 50 or greater.
Step 4: Now you have to remove your CPU from the socket of the motherboard. Now use the ATX 20-pin chart to indicate the pins on the board’s connector. Now you need to keep the black wire on the chassis metal and use the red lead on the connector of the motherboard to check the GND pins. The pins 3, 5, 7, 13, 15, 16, and 17should return at the zero reading. If there show any other readings that means there is any faulty connector on the motherboard.
Testing the motherboard: if it’s bad or good
The motherboard is the most important part of the system. If your motherboard is not working well, that means you have to face some issues in the functions of your system. Swelling and blown is the main cause of the problems in your CPU or motherboard. If there is any fault motherboard will stop working unexpectedly. You can detect whether your CPU or motherboard has been damaged or not. You just need to follow these steps carefully.
Locking or freezing
The freezing and locking of your laptop or computer is a sign that your motherboard is damaged. The software problem causes the computer or laptop to freeze and start to perform a troubleshooting session.
Damage components of the motherboard
The leaking capacitors make the cause of high temperatures, components defects, or plan Agin. The motherboard can also damage if the capacitor blows.
Malfunctioning applications
If your motherboard is damaged, it will not able to handle all the components or hardware of your laptop or computer. Consequently, your pc shut down often.
Burning smell from the motherboard
If you have a burning smell from your laptop or computer, so this is a symptom of motherboard damage. There is an overheated component that produces a powerful burning odor. Incompatible graphics card or RAM can also cause to damage your motherboard.
Common causes of a damaged motherboard
Sometimes you damage your motherboard by being careless. The motherboard can be damaged for some reasons which are mentioned below:
- Bad RAM
- Bad CPU
- Dust bad hard drive
- Short and open circuits
- Overheating
- Bad power supply bad video card.
Wrapping up
How to test a laptop motherboard for power? How to test the fault of the motherboard? After reading this article, you will clearly get the solution to your problem. We have told you about the symptoms of a bad motherboard. We have mentioned all the basic information now you will be able to know whether there is any mistake or whether your motherboard is dead.


