There are many reasons to take and save a screenshot. A screenshot is an image of the content that shows on a computer or mobile screen. Screenshot allows you to capture exactly same what your computer or mobile is showing on its screen. Taking and sharing screenshots is really helpful. Screenshots help to save the content which you want to save for later use.
Screenshots are so vital. For example, if you want to show your developer that you want this type of changes or you want to show him that you need this kind of theme in your website. For all this purpose screenshots really helpful. Sometimes you cannot convey the exact meaning through words, then in this situation screenshots can be really helpful to convey exact meaning. Sometimes you need to show the error that your computer is giving then screenshots will help to show exactly what the error is.
In this article, you will learn how to take a screenshot on windows 8. Now follow the below steps to take screenshots.
Method 1: How to take a screenshot on Windows 8 / Windows 10 with the snipping tool.
The most common way of taking screenshots of the device screen is with the snipping tool. The snipping tool is already built-in since vista’s days. The snipping tool has four different Modes of capturing screen.
Step 1:
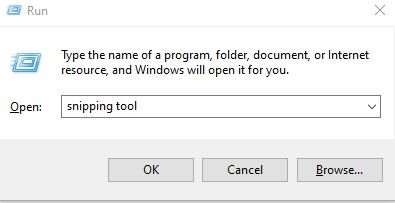
Open the “Snipping tool” from the start menu or search it in the Run box. Open the “Run dialog box” by pressing “Windows + R” and then type “Snipping Tool” in the Run dialog box.
Step 2:
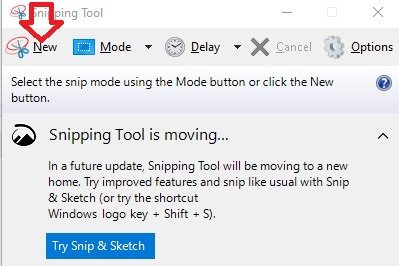
After opening it, just click on “New” and then simply use the cursor to select the screen portion which you want to save.
Step 3:
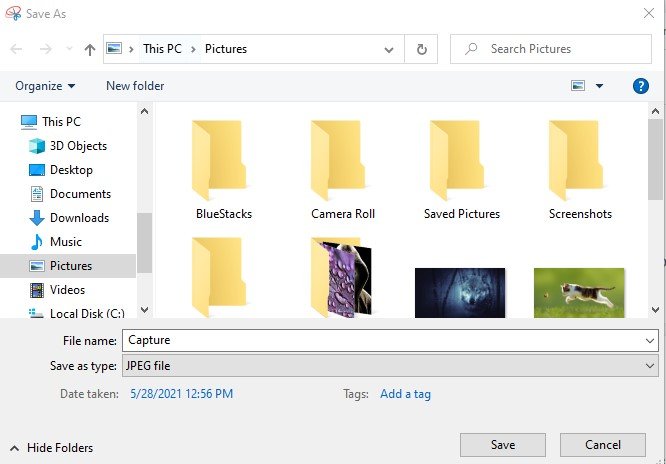
Then press “Ctrl + S” or select “Save As” from the file to save the selected portion.
Method 2: How to take a screenshot on Windows 8 / Windows 10 through Keyboard.
Step 1:
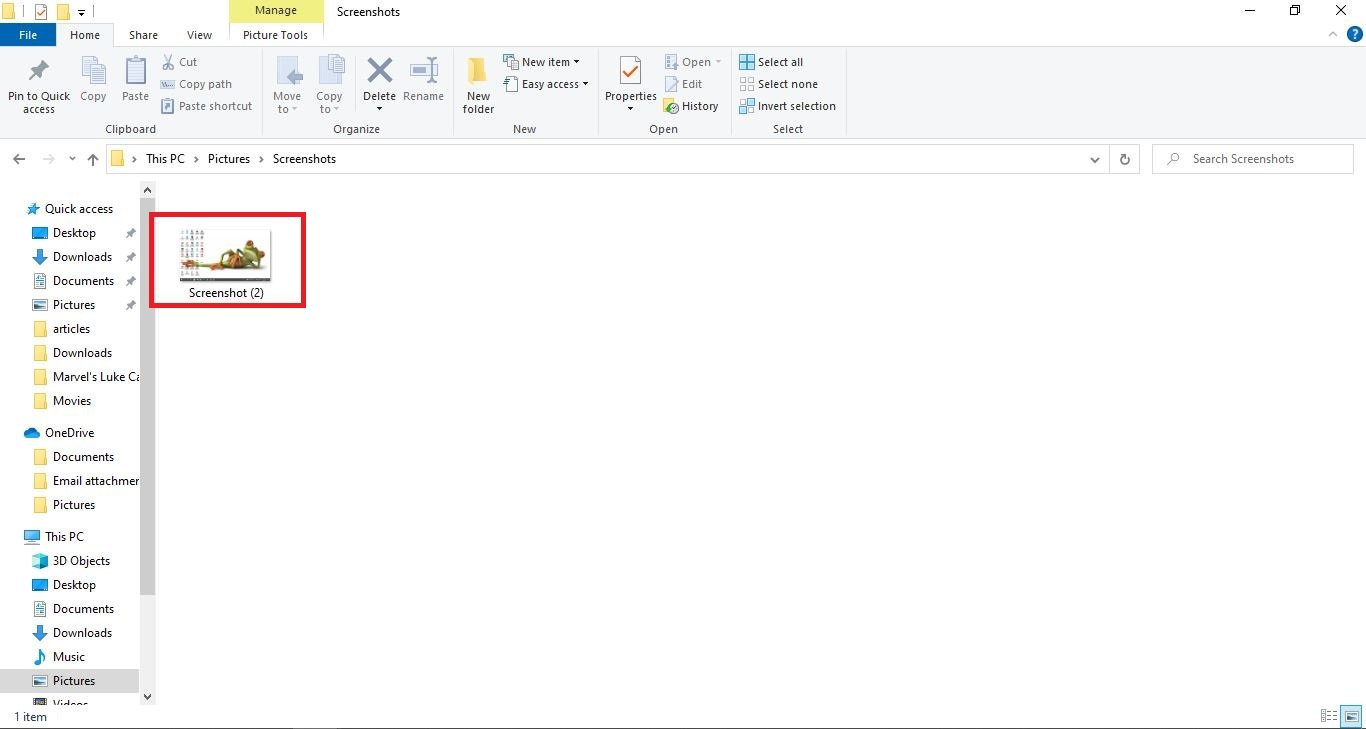
To take screenshots, simply press the “Windows key and print screen” (Windows + PrtScn) button from the keyboard.
Step 2:
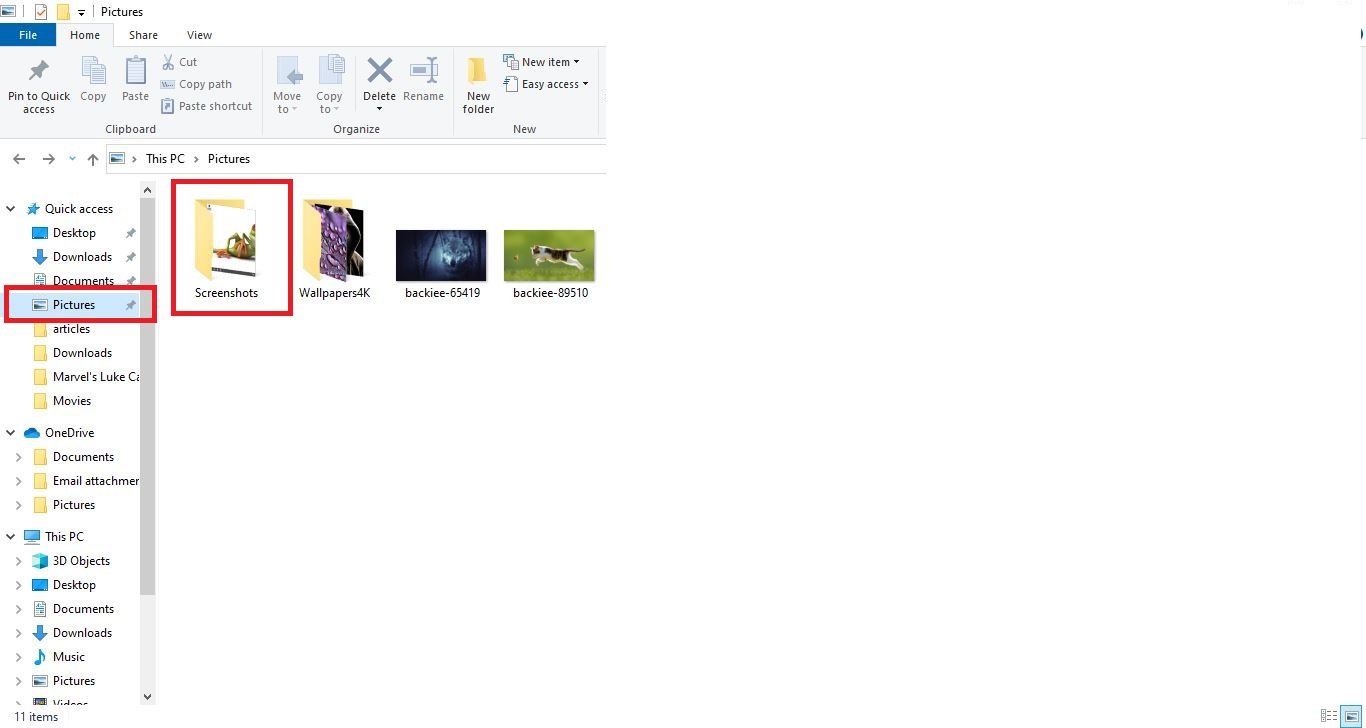
Now press “Windows + E” to open explorer then click the “Pictures” on left side panel, here you will find your taken screenshots.


