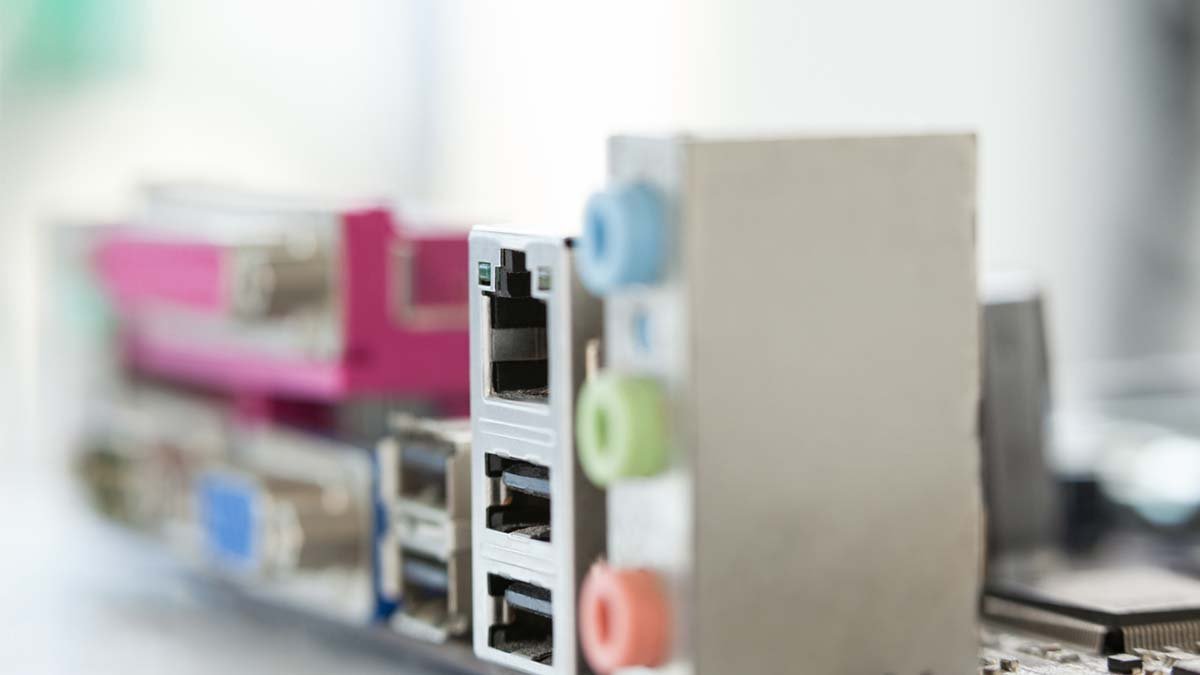
It would never be wrong to say install a motherboard with an IO shield is the most difficult and tricky task. No doubt, the most difficult task to build computers is to put an IO shield on the top of your motherboard and then connect it. Different brands provide their motherboard with their own IO shields. The computer experts deal with the motherboard IO shield with some tricks so that they can ensure an effective connection without damaging the shield on the motherboard and also other components of the computer.
You need to install the motherboard with the IO shield correctly. We provide a detailed guide on installing an IO shield and more relevant information. You just need to follow these steps very carefully when you go to install the IO shield.
What is IO shield?
IO shield is a short name that means “motherboard input-output shield”. It is also called the IO shield tab or IO panel of the motherboard. This little metal panel is complimentary with every commercial motherboard on the market nowadays. There is a cutout hole on the computer case which is designed to install the IO shield. These shield tabs are found on the back of your pc case. There are IO shield braces which are perpendicular lines on the panel that holds the ports of your motherboard together.
The task of an IO shield is to protect all the components which are attached to the IO shield and keep safe from to damage any part. The components that are attached to the IO panel are the HDMI port, the Ethernet connections, power supply unit, and USB ports, and most important is the motherboard.
Steps To Install A Motherboard With An IO Shield
The installation process of the IO shield doesn’t take much time install the IO shield panel is difficult but you can do a successful installation by following our set-by-step method:
Step 1: Insert the IO shield correctly
The first and very important step is to insert the IO shield panel correctly, otherwise, it could be damaged if the IO shield panel goes in or out. You must need to check out first where it can perfectly set on these cutout holes. So you need to check the way into the socket of your CPU and the case of the PC. Now you have to check its position over the motherboard. Simply you must know about the location within your motherboard. Once you confirmed its location then begin aligning the motherboard with the IO shield.
Step 2: Check out the details
The second step is that be careful when you working on the sensitive components of PC, you must know everything. When you install the motherboard with an IO shield then you must be sure about every second, you must check out its vibrations, the bumps, the falling, the shifting, and must have a look at whether it can keep all the things together in case you had to shift the computer.
Make sure the IO shield will not touch the Intel core or AMD RYZEN CPU when you insert and settle the IO shield or panel. But the good thing is that there are bumps at the edges of the IO shield which can stop the shield from falling off and moving when there occur vibrations in the case of pc.
Step 3: Remove all cooler fans
Now the next step is to remove the exhaust or cooling fan. Once you remove the fan then you will be able to look at the braces (perpendicular lines on the IO shield panel) from every angle. Check out every screw hole for the reinstallation of the fans. You need to remove all the exhaust fans that are very close to the brace of the IO shield. And then move on to the next step of installation.
Step 4: Begin the process of installation
Finally, now you can start the process of installing the IO shield. You need to place the horizontally CPU case before sliding the metal place onto it. You have to put a balanced pressure on the IO shield’s corner, don’t apply much pressure to damage anything. You can hear some clicking sounds if it is correctly done. Keep in mind that the bumps shield must be above the metal brace of the chassis. If they are not aligned there, you’ll never hear the clicking sound.
Step 5: Last verify that everything is in place
The last step of this process is that you have to verify that everything is placed correctly. If you see all the bumps of the IO shield pop out of their support structures made of steel, then the IO SHIELD panel is installed correctly. You can shake it slightly to see if anything pops out. If nothing is to happen, then we can say that you are safe to go. Then install the exhaust fan and complete the process.
What Is A Custom IO Shield?
You can customize IO shields though the standard IO shield for every motherboard is to best. There is plenty of cases, you can set up the custom IO shield just like a standard IO shield. But you need to follow the latest instructions on the motherboard when you customize the little metal panel. If you succeed in rest construction built with the standard sizes then you would not have to worry further.
Wrapping up
Undoubtedly, it is a difficult process of IO shield installation, but it is not much tough if you follow these instructions properly which when have mentioned above. Things can become complicated if you cannot do them properly. There is one thing to remember every IO shield is a little bit different, so you don’t need to worry about it. We hope so, you have learned enough about how to install the motherboard with the IO shield panel. Take much care of your computer so that the PC could give you a better server.


