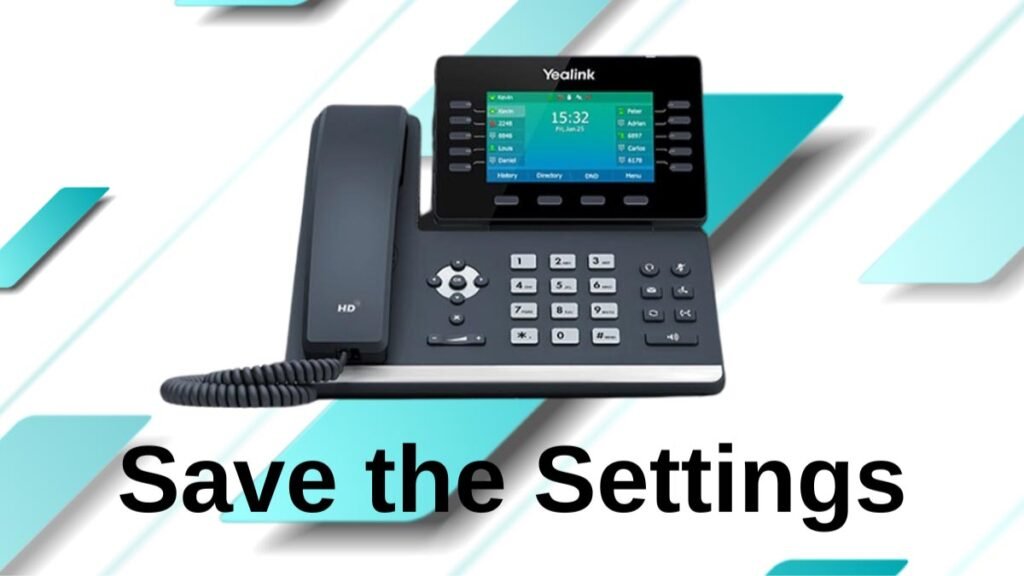
Yealink phones are used in businesses and offices because of their reliability and advanced features. It has a useful aspect of setting to make some changes according to your need.
Well, setting up your Yealink phone may also help you to the correct time that is displayed. Many Yealink phones wondering to know How to Change the Time on a Yealink Phone.
Don’t worry, if you are one of them. Through this article, you will go through the easy procedure that will help you change the time on your Yealink phone. So, let’s get started for more detail!
Change the Time on a Yealink Phone
You can do this by following steps:

Step 1: Access the Phone Menu
First of all, you need to access the phone menu. Here is how to do so
Wake up the Phone: Well, if your Yealink phone is in sleep mode then you have to wake it up by pressing any key.
Enter the Menu: Next, you have to press the option of Menu on the phone. Well, this button is usually represented by an icon with three horizontal lines.
Step 2: Go to the Time and Date Safe
Next, it’s time to change time and save data. So, here is how to do that
Settings Option: You can Use the navigation keys to scroll to the option of Settings and now press enter or the corresponding soft key.
Basic Settings: Next, you have to Navigate to the option of Basic Settings and press Enter.
Time & Date: Now, you have to Scroll down to the option of Time & Date and press the button Enter.
Step 3: Adjust the Time Settings
Now, you have to adjust the time settings by following these steps
Manual Time Setting: Well, if your phone is set to get time automatically from a server, then you have to switch to manual mode first, to set the time manually.
SNTP Settings: After that, you have to Select SNTP Settings and check out that the SNTP option is disabled.
Set the Time:
- Next, you have to select Manual Settings.
- After that, simply enter the correct time using the keypad. You should also Use the navigation keys to move between hours, minutes, and seconds.
- However, if you are using a 12-hour format then make sure that AM and PM settings are correct.
Step 4: Save the Settings

So, when you have entered the correct time and date, then you need to press the option of Save or the corresponding soft key to save your settings.
Step 5: Confirm the Settings
Check the Display: Finally, you have to check that the correct time and date are displayed on the phone’s screen.
Reboot: Well, if some changes may be required then it is best to try a reboot to take effect. If prompted, allow the phone to restart.
Troubleshooting Tips
Well, if you encounter any issue during the whole process then it is the best idea to try these troubleshooting tips to resolve the issue.
NTP Server Configuration: Well, if you want your phone to update the time automatically, then the NTP server settings are correctly configured in the SNTP Settings menu.
Time Zone: Ensure that the time zone is correctly set in the Time Zone option within the Time & Date menu.
Firmware Updates: You should also check out if your phone’s firmware is up to date because outdated firmware can cause issues with time settings.
Conclusion
Well, if you want to change the time then by following the above-mentioned steps, you can easily change the time on your Yealink phone. You have to make sure it displays the correct time and date after setting the time.
Well, if you face any issues while doing so, then it is better to apply the above-mentioned troubleshooting tips. So, that’s all you need to know How to Change the Time on a Yealink Phone. We hope this article will help you a lot!


