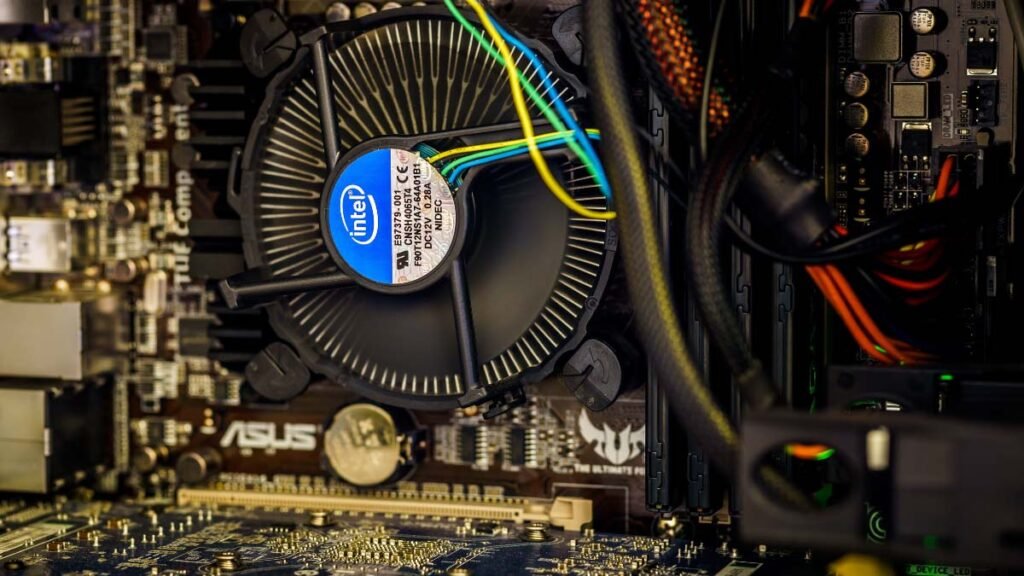
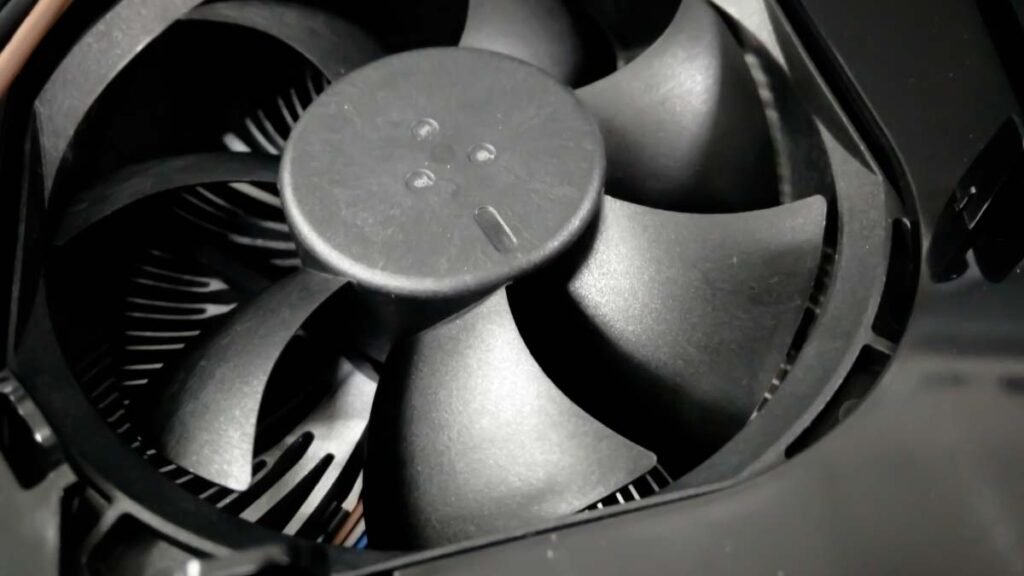
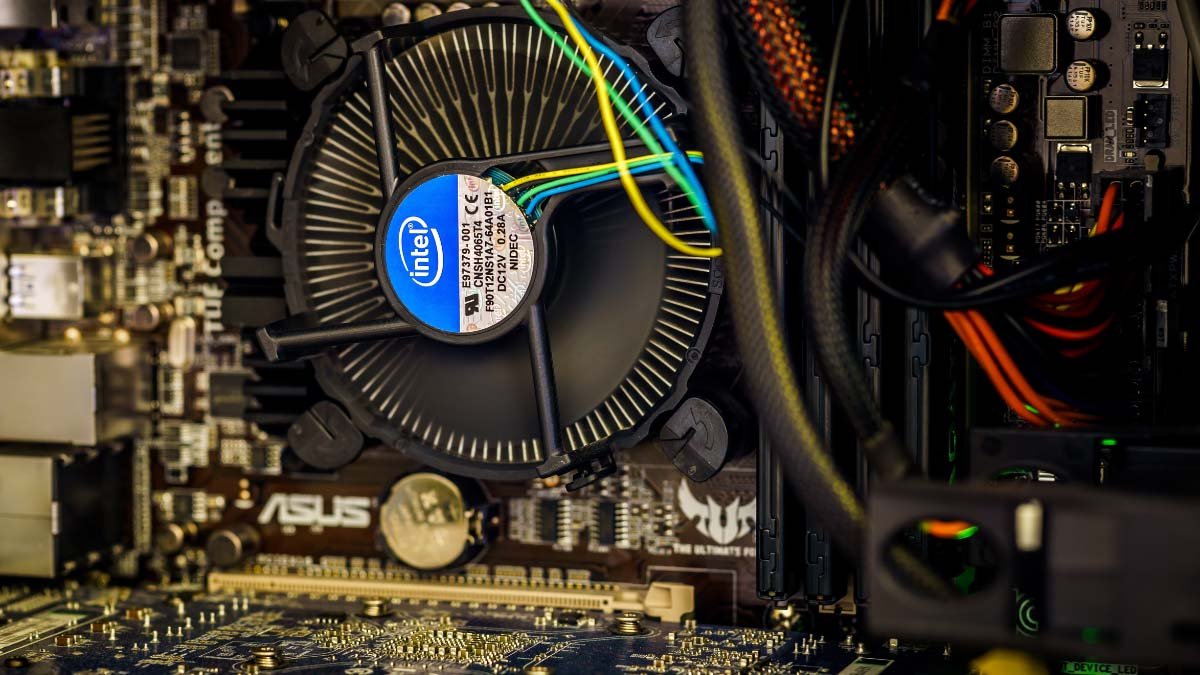
Sometimes you must have to adjust the CPU fan speed to avoid the issues of overheating as well as overclocking and also any kind of damage. Manually adjusting the CPU fan speed is also a very important step in overheating and overclocking a CPU. As you can hear the CPU fan noises when you reboot the PC and it can be heard as the startup process completes.
The purpose to install the fans on your CPU is to blow off the heat that may generate when a process is going through. Sometimes you feel that your pc is getting too hot but after a while, it becomes cool down; it’s just because of these fans. But sometimes these fans cannot be able to control the overheating.
One of the common reasons a PC starts overheating is that the internal fans do not operate at the required speeds. This is because the automatic fan controller is not functioning properly. But luckily, you can easily adjust the CPU fan speeds manually using some easy and different methods.
So if you want to adjust the CPU fan speed then you need to know how to adjust the CPU fan speed. So keep reading this detailed guide so that you can learn the easiest way to adjust the fan speed. This guide covers all the basic facts to learn how to manually adjust the CPU fan as well as any other case fans.
Why is it important to monitor CPU Fan Speed in Windows?
Basically, it’s too important because The CPU fans are pretty straightforward. They always check the PC’s temperature and get turned on and off accordingly to the situation. as we all know that there are air vents in all PCs that allow the heat to escape. If you notice that, these CPU fans are running constantly, that means, your system is overloading.

Then, it is very important to maintain a balance or adjust the CPU fan speed to keep your PC’s temperature absolutely normal. If you don’t do this, you may face some kind of issues and damage.
Fan types
Before adjusting the CPU fan speed, you must have an idea about the type of fans you have. CPU fans can easily adjust, but other fans in the PC are not so flexible. The simple way to identify the fan is to check the connector. You will see three types of fans Molex, DC, and PWM.
1. Molex fans
Molex fans are designed as flat four-pin connectors for direct connection to the power supply. These fans are located at bypass the motherboard, so it is impossible to adjust manually.
2. PWM and DC fans
You can easily adjust the two remaining fan types, DC and PWM. A PWM fan is small, four-pinned, and rectangular in shape, and it can be easily plugged into the motherboard. DC fans are almost identical to PWM fans because they have a three-pin connector instead of a four-pin. You can adjust PWM fans to run in DC mode, but it’s not recommended.
How to adjust The CPU Fan Speed?
You can easily check, control, increase, adjust, and change the CPU Fan Speed safely by following these super easy steps. Here, we will be primarily discussing how you to adjust your CPU fan speed by using the Control Panel, the PC’s BIOS control, or a third-party fan controller SpeedFan.
1. Adjust the CPU fan speed via the Control Panel
Here’s how you to adjust the fan speed by controlling settings in the Control Panel:
- First of all, you have to open the Control Panel
- Now you need to click on Hardware and Sound
- Here, you have to click on Power Options
- Next, you have to open the advanced power settings page from here
- You can see a subsequent dialog box, locate Process power management
- Here, you have to choose the System Cooling Policy and click to turn on the setting to ‘Active’
- Now, it’s time to save these changes, so you have to click on Apply
- After that exit the window.
Note: If you are using windows 11 then This System Cooling option can’t be found there, in this case, you should jump to the second and third ways.
2. Use BIOS/UEFI to adjust the CPU fan speed
As usual, BIOS is the most effective way to make well-defined system adjustments for users. The Advanced Startup option BIOS includes the fan-controlling settings on your PC. Here’s how you can access and adjust the settings:
First of all, here is how to open BIOS settings:
- Restart the PC, first.
- When it boots back up, make sure to press the ‘Delete’ and ‘F12’ keys together
- The second way to open it:
- Go to Settings
- Click on Update & security
- Press the button Recovery
- Next, click on Advanced Startup
- Click on the option to Restart
- Now click on Troubleshoot
- Find the option of advanced options and click on it
- Next click on UEFI Firmware settings
- Now Click Restart
Here is How to use BIOS:
- After opening BIOS front page,
- You need to find out the option of Fan Control Settings and click on it.
- You can see the option of monitor, Go to Monitor
- Next, you have to click on Status
- Now press the option of Fan speed control
- Here, find out RPM settings
- Now, you need to choose the CPU fan to increase or decrease its speed with RPM, you can adjust the fan speed from here easily.
- Save the change and press Esc till you have access to the menu option.
3. Speed Fan Software
The free app SpeedFan can help you to adjust the CPU fan speed. Speed Fan is one of the most effective and easy ways to adjust the fan speed. If you are using this software Speed Fan for the first time, then it could be difficult for you to figure out just because of the many configurations to make it runs smoothly.
Some issues that run to compatibility and incorrect setup can cause damage to your hardware. So, Speed Fan software is the best way to adjust the CPU fan speeds. It can also check for motherboard temperatures, scans your drive for problems, and reads voltages.
How to download and Install SpeedFan software?
You have to go to the official website and download an original copy of this SpeedFan software. This program scans the PC before setup and after that installs it. After this setup, the SpeedFan software shows the fan’s speed in the device along with the temperature of the processor or you will also see the main menu window to get your pc information.

Configuring Your Speed Fan Software
The SpeedFan software has the automatic controls disabled that allows you to configure the Speed Fan software for more amazing results. Speed Fan’s technology known as Self-Monitoring Analysis and Reporting Technology runs through your motherboard and video cards to extract relevant data. So, here’s the easy process to configure the software:
- click on the Configure button first.
- A new window will appear Click on the advanced tab
- Here, you can see a list of different menus
- Next, Search for Chip, the menu has all the chipset
- Click on it, and here you can see PWMs i.e. PWM 1, PWM 2, and PWM 3 formats
- Click on PWM to control or configure
- Select it, and now click on “Set to” here you’ll see a drop-down list with different configuration options in the list
- Press the Manual control to manually configure the fans.
- Now click on “Remember it” to save the settings
- Finally, you have to toggle on the PWM to configure and the fan speed will be adjusted.
The Response curve plots will help you to down the PC’s temperature and the relevant fan speed. The upward-sloping graph will help you to higher temperature leads to higher fan speed.
Conclusion
Basically, these are the best ways to adjust the CPU fan speed. We’ve provided a deep detail about how to adjust the CPU fan speed. You can go with one of them that we have mentioned above to resolve the issue. We hope so this article will help you a lot!


