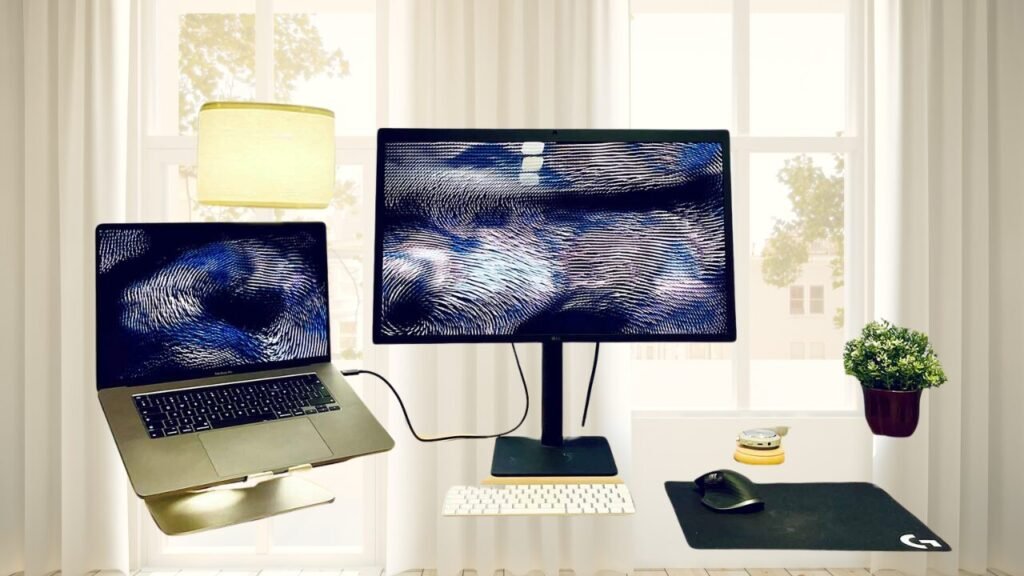
You can connect your MacBook to the external monitor. Connect MacBook To Monitor is a straightforward and simple process.
As we all know that, Apple introduces a new MacBook from time to time, and the latest version always comes with an improvement in the display. The MacBook introduces a new version of the MacBook with better pixel destiny, brightness, colors, etc. almost every year.
As we all have an idea, Desktop monitors come in different sizes, and orientations and support more features than a MacBook screen can. But it depends on your user needs, connecting your MacBook to a monitor may be the perfect desktop environment for you.
Here we’ll talk about how to connect MacBook to a monitor of your choice, and how you can keep your Mac running smoothly on any setup? Let’s discuss for more knowledge:

How to connect an external monitor to a MacBook?
You must have knowledge of how you can connect an external monitor to a MacBook before you connect a MacBook to a monitor. You must arrange the perfect setup that requires you to reconsider which monitor you are going to use. Now it’s time to check out first which monitors your MacBook supports:
- Go to your Mac menu bar, and click the Apple logo at the top left corner.
- Now click the option About This Mac from the mac menu bar.
- Select the Support tab from the top of the window that will appear.
- Click on the option of Specifications next to Mac Resources
When you have done, there will appear a webpage with all details on the number of displays of your MacBook supports under the “Video Support or Graphics” section. After this, you will come to know which monitors – and how many – you can connect to your MacBook air, simply take care that your external monitors are connected to a power source and connect them to your MacBook via the cable connection.
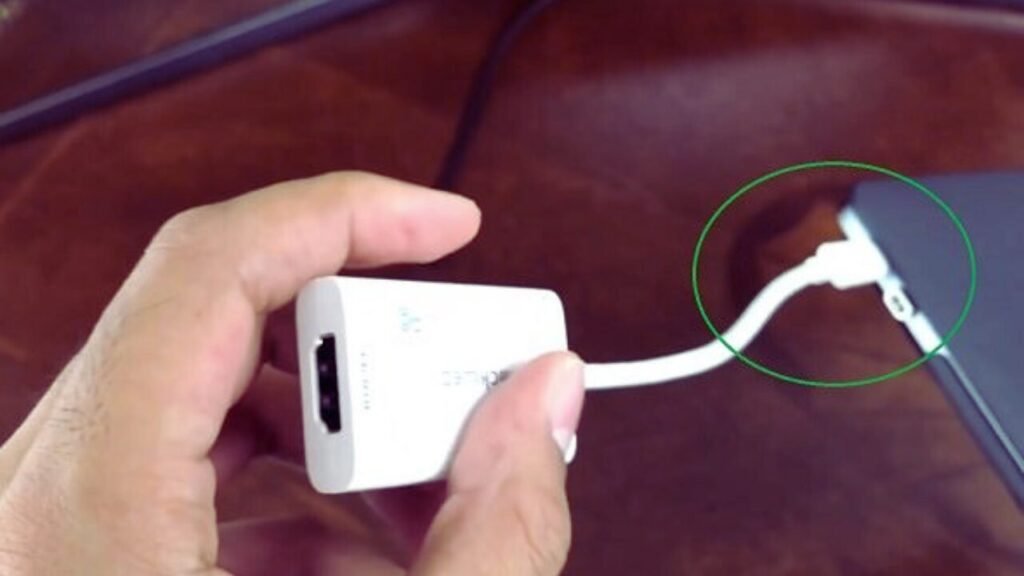
But you must need to have the right wires. The Thunderbolt 3 ports on your MacBook Air or the thunderbolt 4 if your model is an M1 model then it can be used for video output. But it depends on the type of external monitor which you are using to connect to your MacBook. You must need one of the adaptors which are mentioned below:
- Thunderbolt or USB-C wire connects to a USB-C monitor.
- USB-C Digital AV multiport adapter will connect to the HDMI display or HDTV display also.
- VGA multiport adaptor will connect to a VGA display.
How to set up the monitor with MacBook?
When you are using an external monitor as your only monitor or in conjunction with your MacBook monitor, there are some important things you should keep in your mind. One thing is that you can arrange your MacBook monitors however you like. We will discuss below, how to connect the MacBook and external monitors.
Close the lid of your MacBook and keep working. After connecting your MacBook to the monitor, you can shut its lid to make the external monitor your only display. This deep keeps your MacBook powered on, you just need to connect it to a power source.
After connecting you will some options and settings. Display brightness, warmth, and Night Shift. Here you will also see the setting of the monitor that supports features like in-plane switching (IPS) and other features.
how to connect your external monitor for use with any MacBook

- Firstly, you need to plug in your external monitor to a power source.
- Then Plug your external monitor into your MacBook
- After this, make sure that the external display is active and on.
- Now select the Apple logo at the top left corner from the mac menu bar.
- Then select System Preferences from the drop-down menu and choose Displays.
With this setting, you can connect more than one external monitor, and the screen of your MacBook will open multiple windows. The main display of your MacBook will always be open and available. If you connected an external monitor, there will appear a second menu that is unique to that monitor, now only the primary monitor will have the arrangement and Night Shift options.
The Arrangement is also controlled by your primary monitor because when you arrange monitors, it depends on their relationship to that primary monitor. If you will try to drag one monitor over the other in the arrangement field, it will be the mirror of displays.
How many displays you can connect?
You can connect one or more external monitors and that depends on the model of your MacBook. Check its technical specifications page to know how many displays you can connect to your MacBook
- Select the Apple menu then double-click the serial number and press Command-C to copy it.
- Now go to and click the Search Tech Specs bar, click Command-V to enter your computer’s serial number, then click on Search.
- Press the specs page for your Mac. There will appear the number of displays your Mac supports.
Which port to use on my Mac?
We can say that the use of ports totally depends on both your Mac and the monitor. Modern MacBooks use Thunderbolt connections and the USB-C connection. Any monitor that works via a USB-C cable can work with the MacBook. A good rule of thumb is to use the port to connect your MacBook. These are ‘power’ ports and support external monitors. Some lower-end displays can also work on the other ports.
Common issues
When you use the external monitor with your MacBook, some problems will occur:
- When your monitor doesn’t turn on then try different ports, and default to the ones at the rear of your MacBook.
- If your monitor is placed to the left of your MacBook and you want to extend the display in that arrangement, then go to System Settings and arrange your displays properly.
- If you’re MacBook won’t work when you close its lid. That means your MacBook just supports an external display being the only display when it’s connected to a power supply.
- You can do some settings to keep your external monitor from working properly.
- You can also download to CleanMyMacX. It will keep your MacBook working perfectly, it has a deep clean function that will reset the system setting. You can use it and fix the issue.
Wrapping up
We have explained all the details about how to connect your MacBook to your monitor? And much more. To fix your MacBook’s issue there is Clean My Mac X, Bartender, and iStat Menus are three of the over 200 great Mac apps which are available for free, during a week-long trial of Set app. Hopefully, our article will help you a lot!


