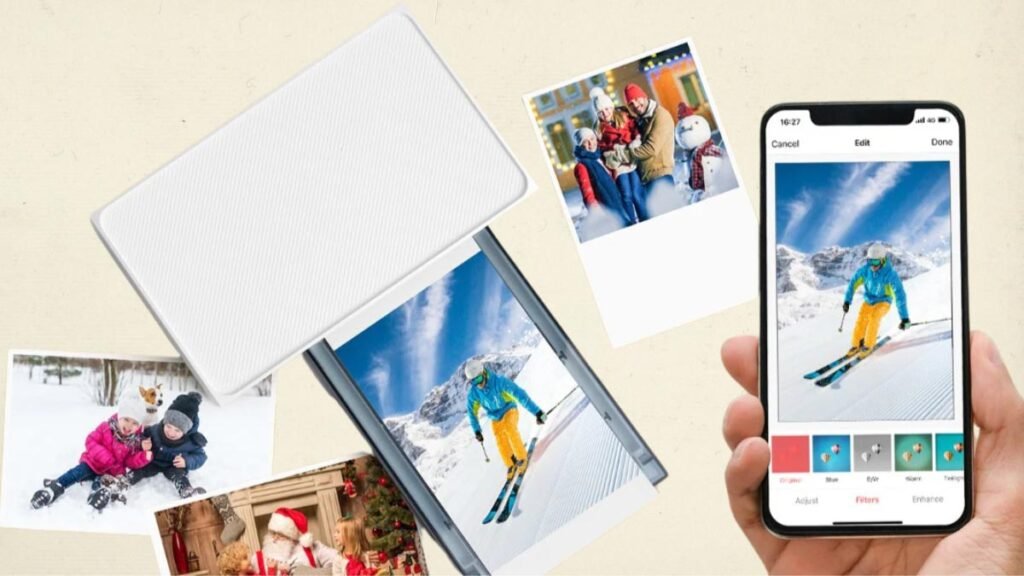
How to Print 4×6 Photos From Your iPhone? In the digital age, capturing valuable memories has never been easier. How could you ignore that powerful camera built into your iPhone, you are carrying in your pocket?
And of course, on your iPhone, you must have some valuable memories. Sometimes, the best way to cherish those memories is not by swiping through a gallery but holding a physical photo.
No doubt, a 4×6 photo is a perfect size for framing, scrapbooking, and also sending to loved ones. Well, if you want to know How to Print 4×6 Photos from Your iPhone. This guide will walk you through the process of printing 4×6 photos directly from your iPhone to turn digital moments into tangible keepsakes.
So, let’s get started for further detail!
Why Print Photos from Your iPhone?
No doubt, digital storage is convenient, but you will agree that nothing compares to the warmth of a physical photo. However, Printed photos might be displayed around your home, you can gift them to your beloved or preserve them in an album for future generations.
Furthermore, printing your photos also ensures that you have a backup of your most cherished memories and even these are safe from the potential pitfalls of digital storage, like accidental deletion, device failure, or stolen.
Printing 4×6 Photos from Your iPhone

Well, if you want to print 4×6 photos from your iPhone, then luckily you can do that by following the below-mentioned step-by-step guide!
Step 1: Select the Photos You Want to Print
Before mentioning the printing process, it is a better idea to discuss the process of selecting photos. Well, your iPhone’s Photos app makes this easy. So here is how to do that
- First of all, you have to open the Photos app on your iPhone.
- After that, it’s time to Browse your albums or use the search bar to find specific photos.
- Next, you need to tap the option of Select in the top right corner.
- Now, click on the photos you need to print.
- Well, a blue checkmark will show on each selected photo.
- From here, you can choose multiple photos if you plan on printing several at once.
Step 2: Edit Your Photos for the Best Print Quality
After selecting the photos, you have to make some adjustments to check that they look their best when printed. So, the Photos app has built-in editing tools that are perfect for this. However, here is how to do so
- First of all, you have to tap on a photo that you have selected to open it.
- Next, you need to click on the Edit in the top right corner.
- Now, you have to adjust the brightness, contrast, and color according to your desire. Moreover, you can also use filters to enhance the photo’s appearance.
- Now, go to the cropping tool to make sure your photo is perfectly sized for a 4×6 print.
- After that, you have to tap the crop icon and choose 4:3 from the ratio options, then adjust the frame as needed.
- After editing, tap Done to save your changes. Repeat this process for each photo you plan to print.
Step 3: Choose Your Printing Method
Well, when it comes to printing, so there are some different ways to print 4×6 photos directly from your iPhone. Some of the most common methods are given below
Method 1: Print Using AirPrint
So, if you have a printer that supports AirPrint, then you must be pleased to know, that this is the quickest way to print photos directly from your iPhone. Well, you can print photos by following the below-mentioned steps
- Make sure, your printer is connected to the same Wi-Fi network as your iPhone.
- Next, you have to Open the Photos app and select the photo you want to print.
- After that, tap on the option of Share icon.
- Next, you have to Scroll down and choose the option of Print.
- After that, you have to choose your printer and print size.
- Finally, Tap on Print in the top right corner.
- After a while, your photo will print but if you want to print multiple photos, then simply repeat this process for each one.
Method 2: Print at a Local Store
Many stores, such as CVS, Walgreens, and Walmart, offer in-store photo printing services.

In this way, you can send photos directly from your iPhone using their apps. Well, if you prefer to have your photos printed at a local store, then you have to follow these steps
- First of all, you have to download the store’s app.
- After that, you have to create an account or sign in if you already have one.
- Next, you need to Open the app and go to the photo printing section.
- Well, it’s time to Upload the photos that you want to print from your iPhone’s photo library.
- Next, you have to select the print size of 4×6 and the quantity.
- Now, select a store location for pickup.
- Finally, complete the checkout process.
Method 3: Use an Online Photo Printing Service
Services such as Shutterfly, Snapfish, and Printique let you upload your photos from your iPhone and have them shipped directly to your home. For the convenience of home delivery, you can use an online service. You have to follow the below-mentioned easy steps
- Download an app like Shutterfly or Snapfish from the App Store, or you can also visit their website.
- Now, you have to create an account or sign in.
- Next, simply upload your selected photos from your iPhone’s library Choose the 4×6 print Size and select the quantity.
- You can also customize your prints with borders or other options.
- Now, you have to complete the checkout process and enter your shipping address.
- So, your prints must delivered to your door within a few days. So have some patience.
Conclusion
Printing 4×6 photos from your iPhone is a straightforward process that lets you bring your digital memories into the physical world. Well, if you want to print your photos then you can follow the above-mentioned easy steps.
So that’s all you need to know How to Print 4×6 Photos from Your iPhone. We hope this article will help you a lot!


