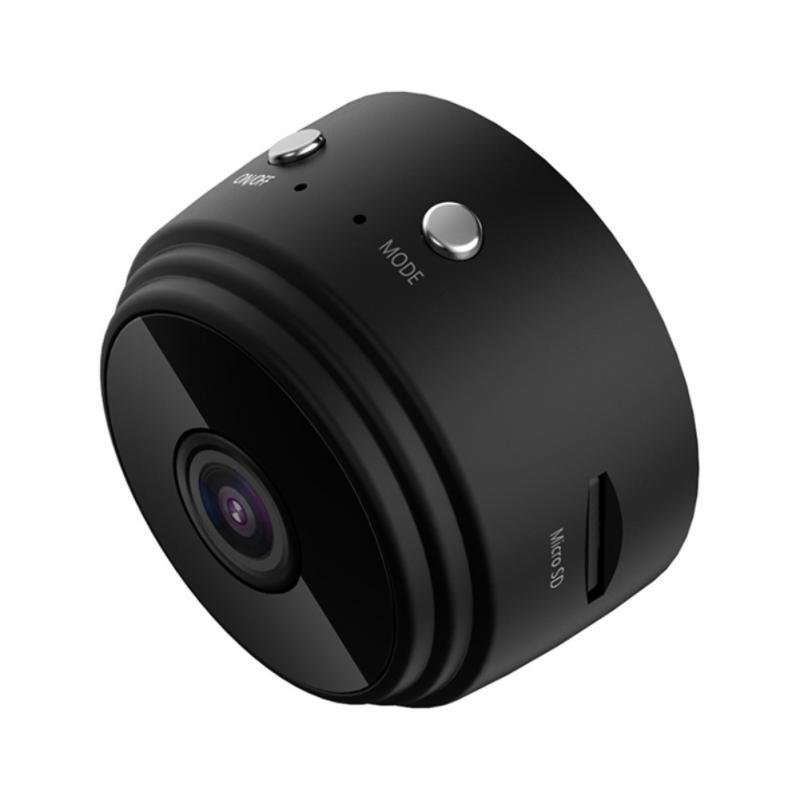
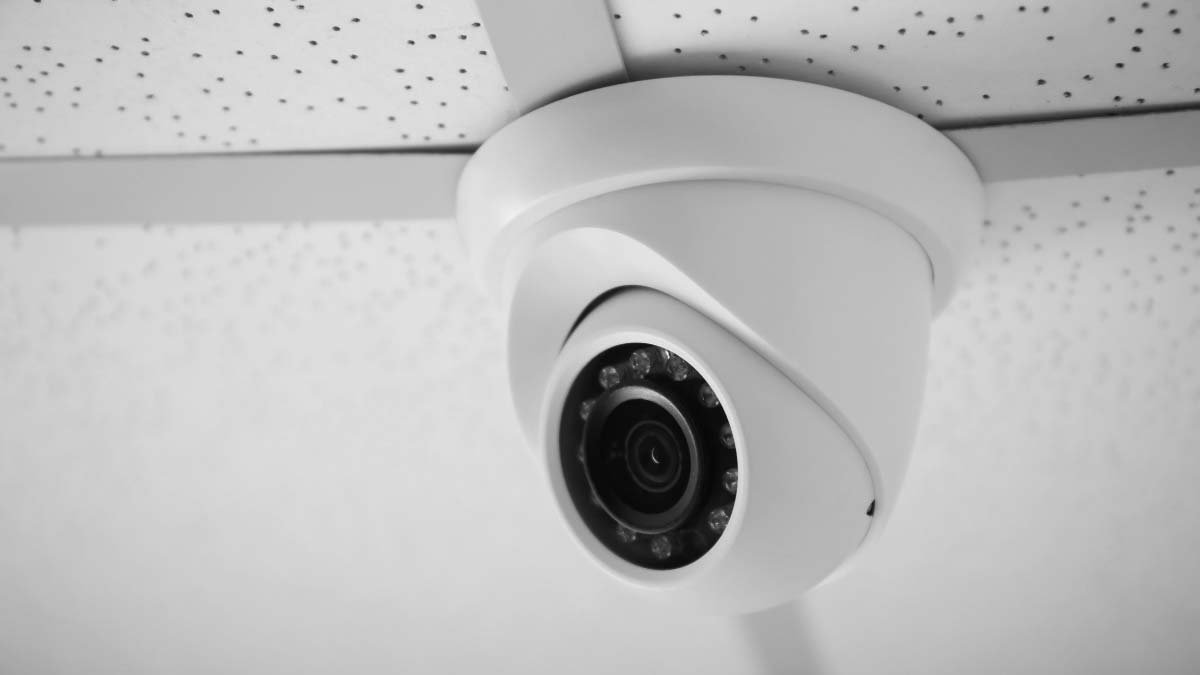
If you have a JXLCAM camera but have no idea how to Connect JXLCAM To The Phone, then don’t worry. In this article, we will mention everything in detail whether it is about, how to use JXLCAM camera, or how to Connect JXLCAM To The Phone, function settings, etc.
It is suitable for all JXLCAM cameras, like mini cameras, bulb cameras, indoor and outdoor cameras, etc Well, sometimes you need to monitor something urgently. That’s why you think about connecting the camera to your phone.
In this JXLCAM helps you a lot. Basically, the JXLCAM App is developed by the JXL. Inc. well, the JXLCAM app is created for security cameras. So here you will learn about how to Connect JXLCAM To The Phone. So let’s get started for more detail!
What is JXLCAM?
Jxlcam is an app that is designed to work with home surveillance camera devices. With this, you can be able to Connect JXLCAM To The Phone. It does No matter, where you are, you can view the monitoring anytime, anywhere with the help of this camera on your phone.

JXLCAM also supports capturing screen photos and video clips. After capturing it can be able to a saving them locally. Furthermore, it also supports monitoring camera equipment and intercom with camera equipment. Well, it also Supports SD card video playback functions.
How do you Connect JXLCAM To The Phone?
Well, here is a step-by-step guide on how to Connect JXLCAM To The Phone. You just need to follow each step carefully so that you can perfectly Connect JXLCAM To The Phone. Well, here is how to do this:
Step 1: Start the JXLCAM camera
- First of all, you need to Press the power button to start the JXLCAM camera.
- After that, the machine will start.
- Well, a blue indicator light flashes quickly without any break, which means, now your camera enters the state to be connected.
Note: If you notice that a blue indicator is slow flashing or cannot be connected, then you should long press the reset button for a few seconds to reset.
Step 2: Install the JXLCAM APP
Well, after starting the camera you need to download and install the JXLCAM APP from your Play Store. But here you need to keep in mind that during installation, you have to open all permissions of the APP because without permission, the APP will not work properly.
Step 3: Connect the JXLCAM camera to the phone
Well, if you have no WiFi connection then AP mode can be used for connection as an alternative. Basically, the effective distance of AP mode is no more than 10M which is realised in localized video viewing.
- Well, you have to Open your phone’s Wi-Fi list and connect to B/xCCQ
- Now make sure you have successfully so this.
- Now you have to open the APP page
- After that, you need to click the AP option.
- After that, your JXLCAM camera will connect to your phone through AP mode.
Well, if your WIFI signals are near the device, then you can do this:
- Well, first of all, you have to turn the device on,
- Next, same the blue indicator light flashes quickly and continually.
- Now you have to make sure that the device enters the state to be connected.
Note: Remember that the JXLCAM camera only supports a 2.4G band WIFI signal.
Unable to connect successfully when power is low
Well, when connecting to the network, you have to place your device very close to the router. Because the WiFi signal is weak, you might face the issue of your connection cannot be successful or the screen can also be closed after a successful connection. Here is if unable to connect successfully when power is low. First of all, you have to open the APP JXLCAM and follow the steps which are mentioned below:
- Well, click ‘+’ option
- Then you have to Click “AP add Camera”
- Next, you should click “…” to connect your device to the local 2.4G WIFI band,
- Now you have to enter the password.
- After that, you have to Click”… “In order to connect to the camera WIFI hotspot
- Now you should add the camera
- Well, Click “Cancel” here.
- Here you have to wait for some time for the connection.
- Now click on the option of” Next”
- Here, you can change the name easily, it’s up to you,
- And finally, click “Next”.
How to Install JXLCAM on PC?
Well, if you want to use JXLCAM on your PC, then you need to follow some easy steps which are mentioned below:
- First of all, you have to install Bluestacks on your PC. Well, Bluestacks is a professional Android emulator that helps to run Android apps on a PC or MAC.
- So, after installing Bluestacks on your PC, you should run any Android apps on your PC even JXLCAM APK.
- Simply, first install Bluestacks, and then you have to install JXLCAM in the Bluestacks emulator.
Conclusion
If you need to use JXLCAM then you need to connect this to your phone first. So we have mentioned a simple way to Connect JXLCAM To The Phone easily. But you have to follow all the steps carefully so that you can avoid unconnected issues. So that’s all you need to know about how to Connect JXLCAM To The Phone. We hope this article will help you a lot in this case!


